Team management
The Team management section is where you can add, delete, and reset passwords on Akoya-hosted accounts. You can also edit company details, set a logo, and more.
Federated accounts are managed via your IDP
While you will be able to view users who currently have Hub access in Team management, all CRUD operations and access management are handled on your end.
All topics on this page refer only to Akoya-hosted accounts unless specified otherwise.
User management for federated accounts is managed with your IDP. You'll be able to view users who have Hub access.
User roles
Currently, only the admin role is available to Akoya-hosted accounts. If you're using federated accounts to access the Hub, a viewer role is also available.
Adding users
The account you use to sign up with Akoya will be your company’s first user. Afterward, you can set up users from the Team management section or by clicking your company name at the bottom of the navigation pane (both links take you to Team management).
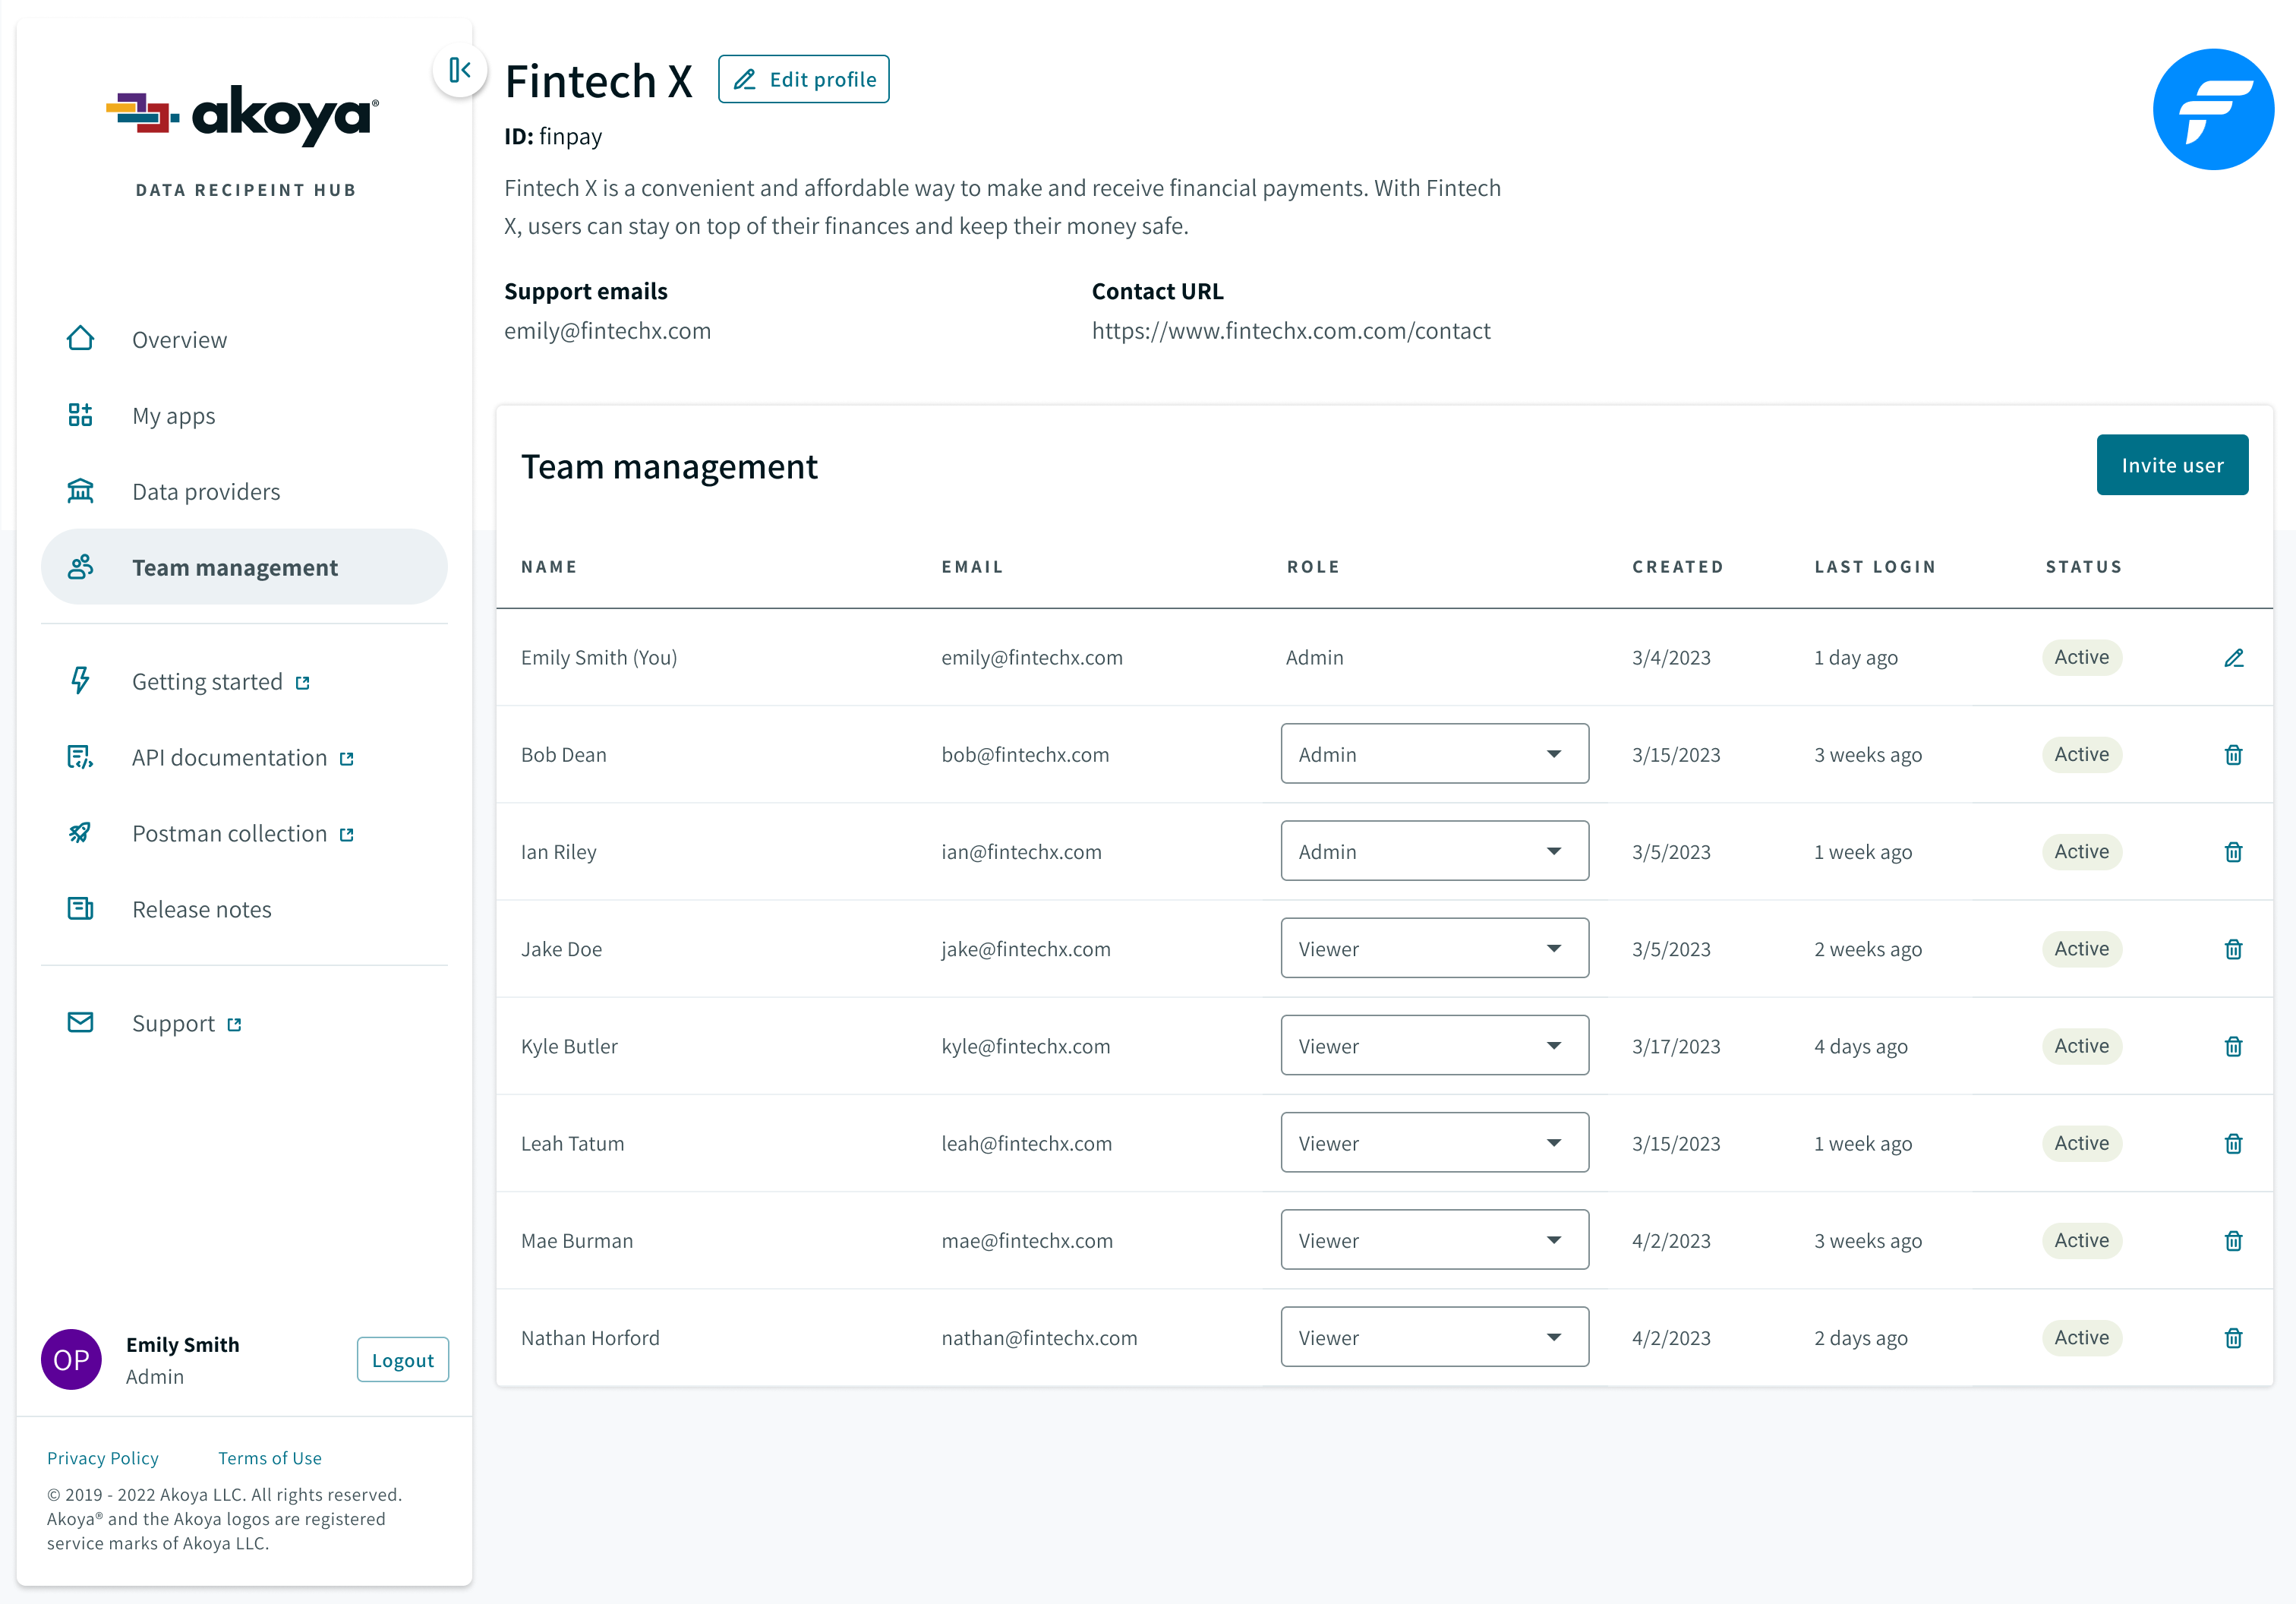
Click the “Invite user” button, enter the name and email for the new user, and click the “Invite” button.
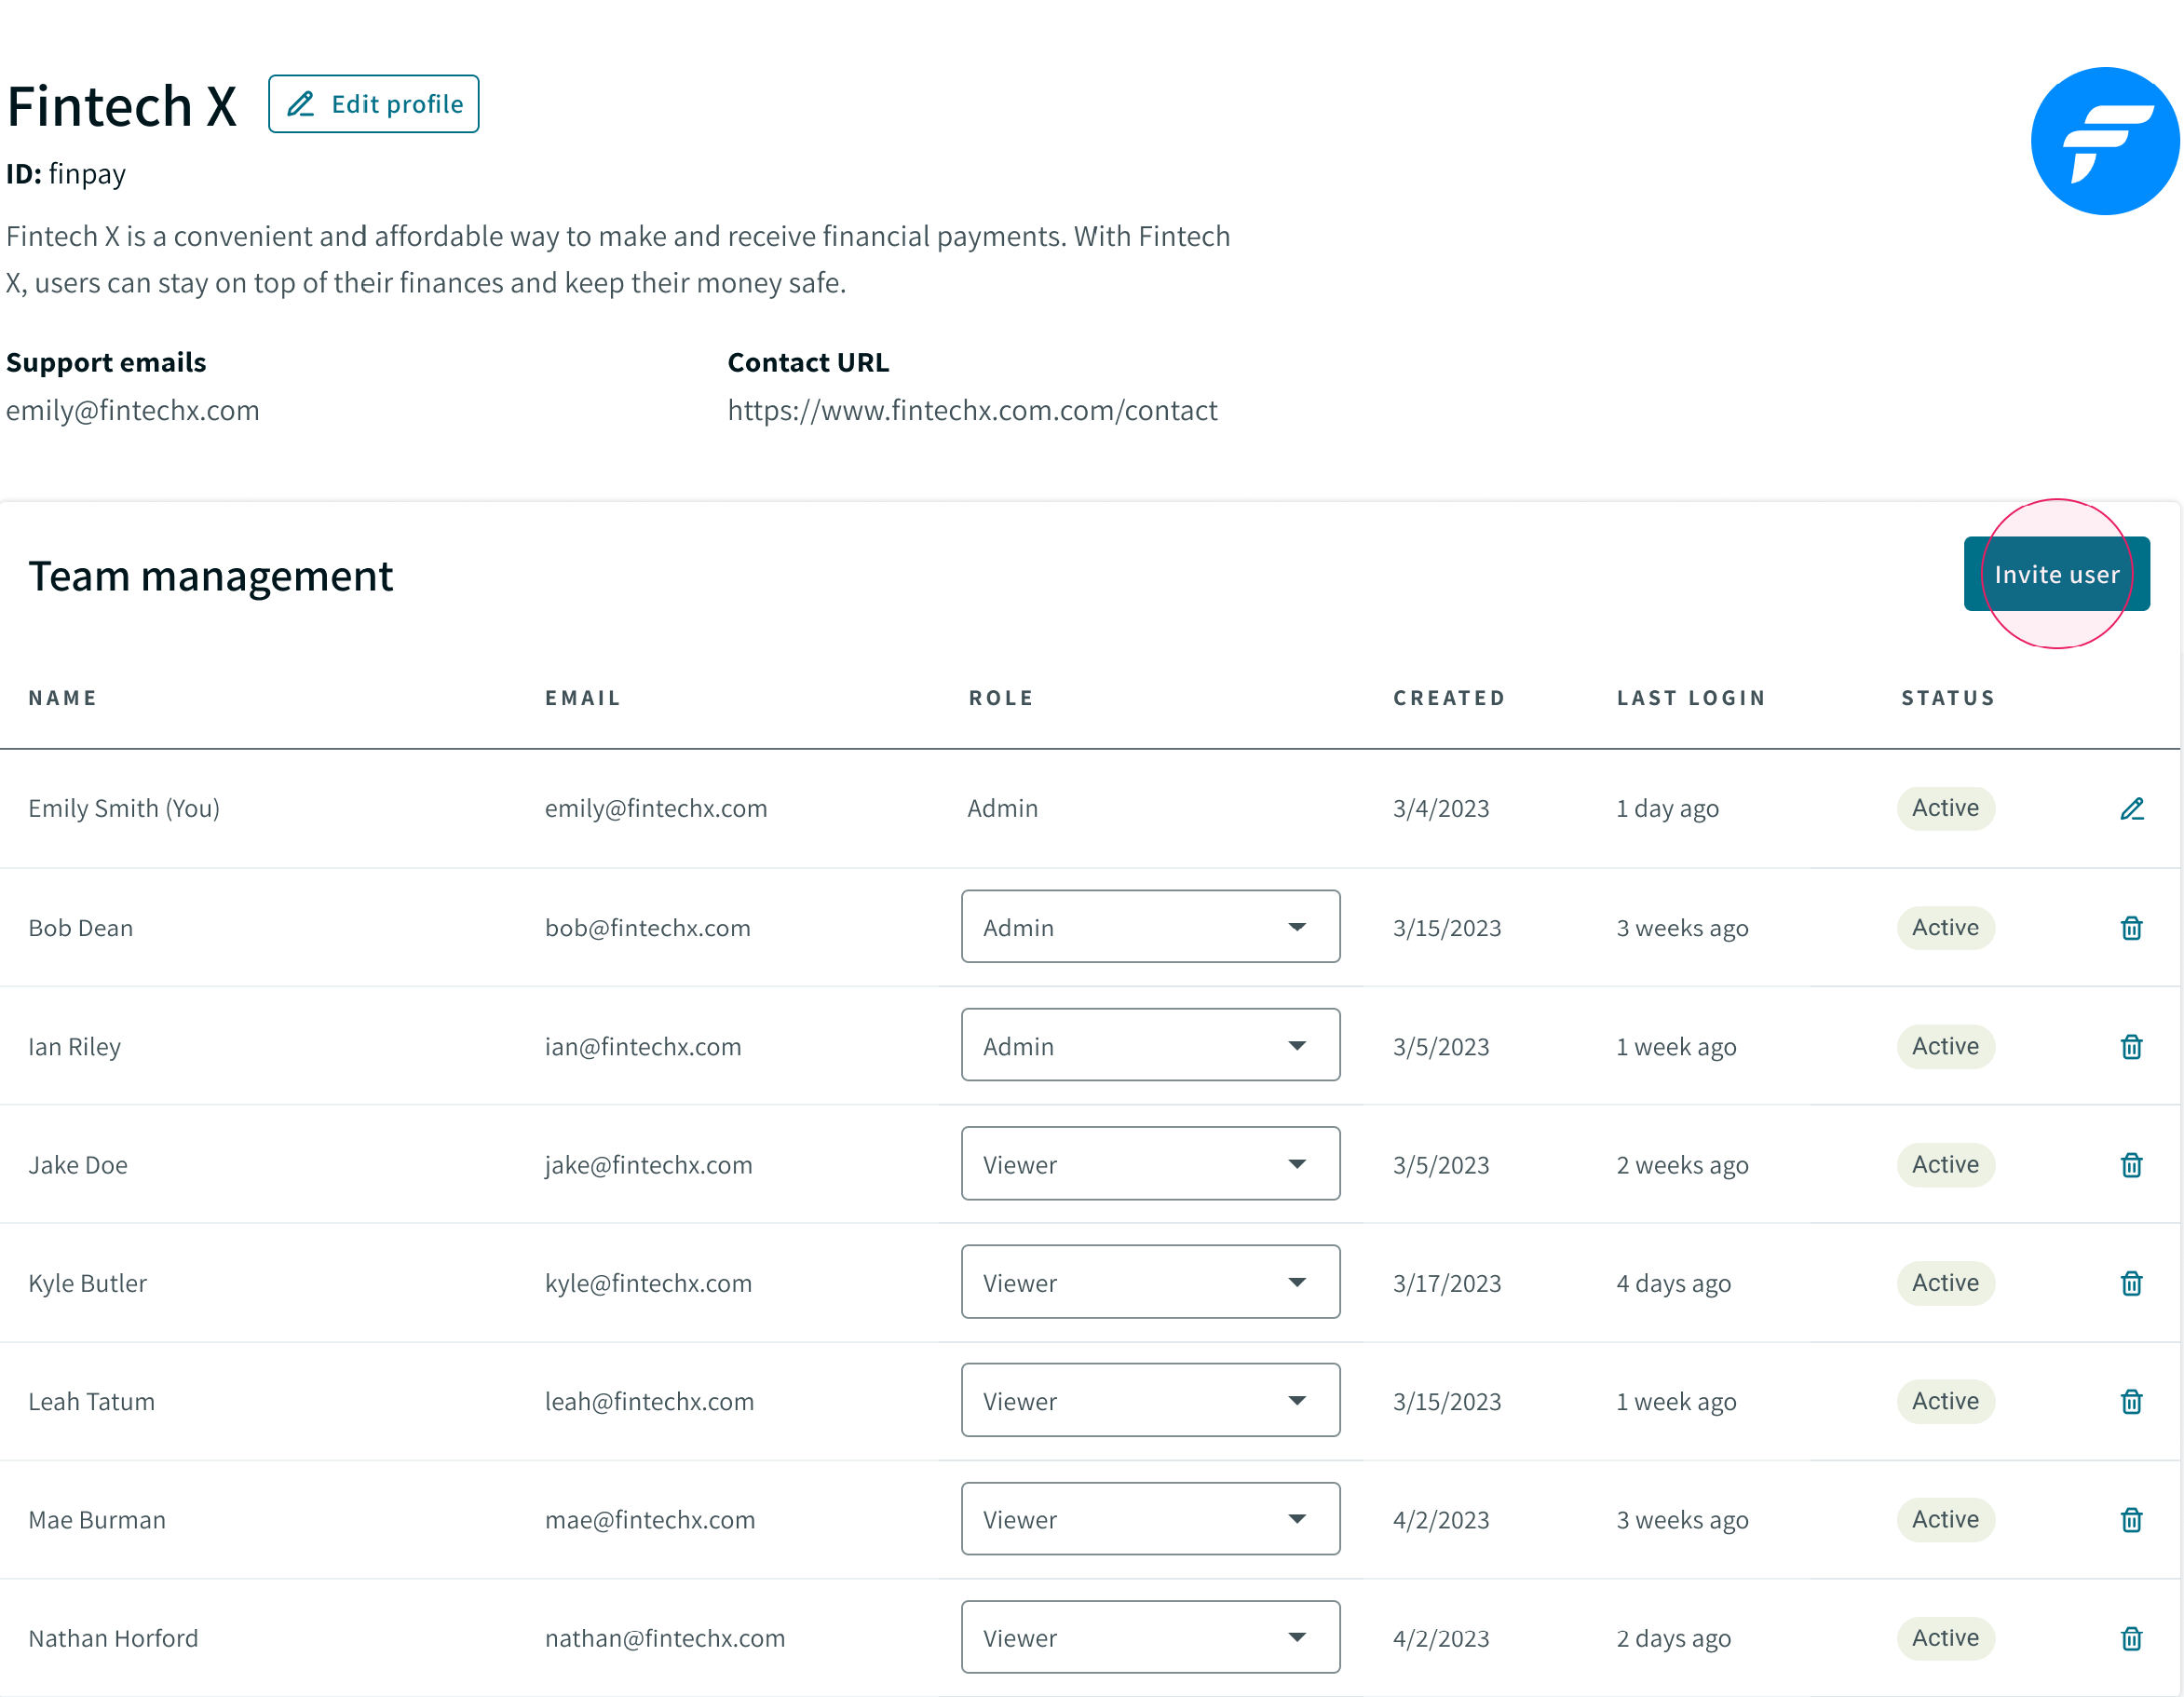
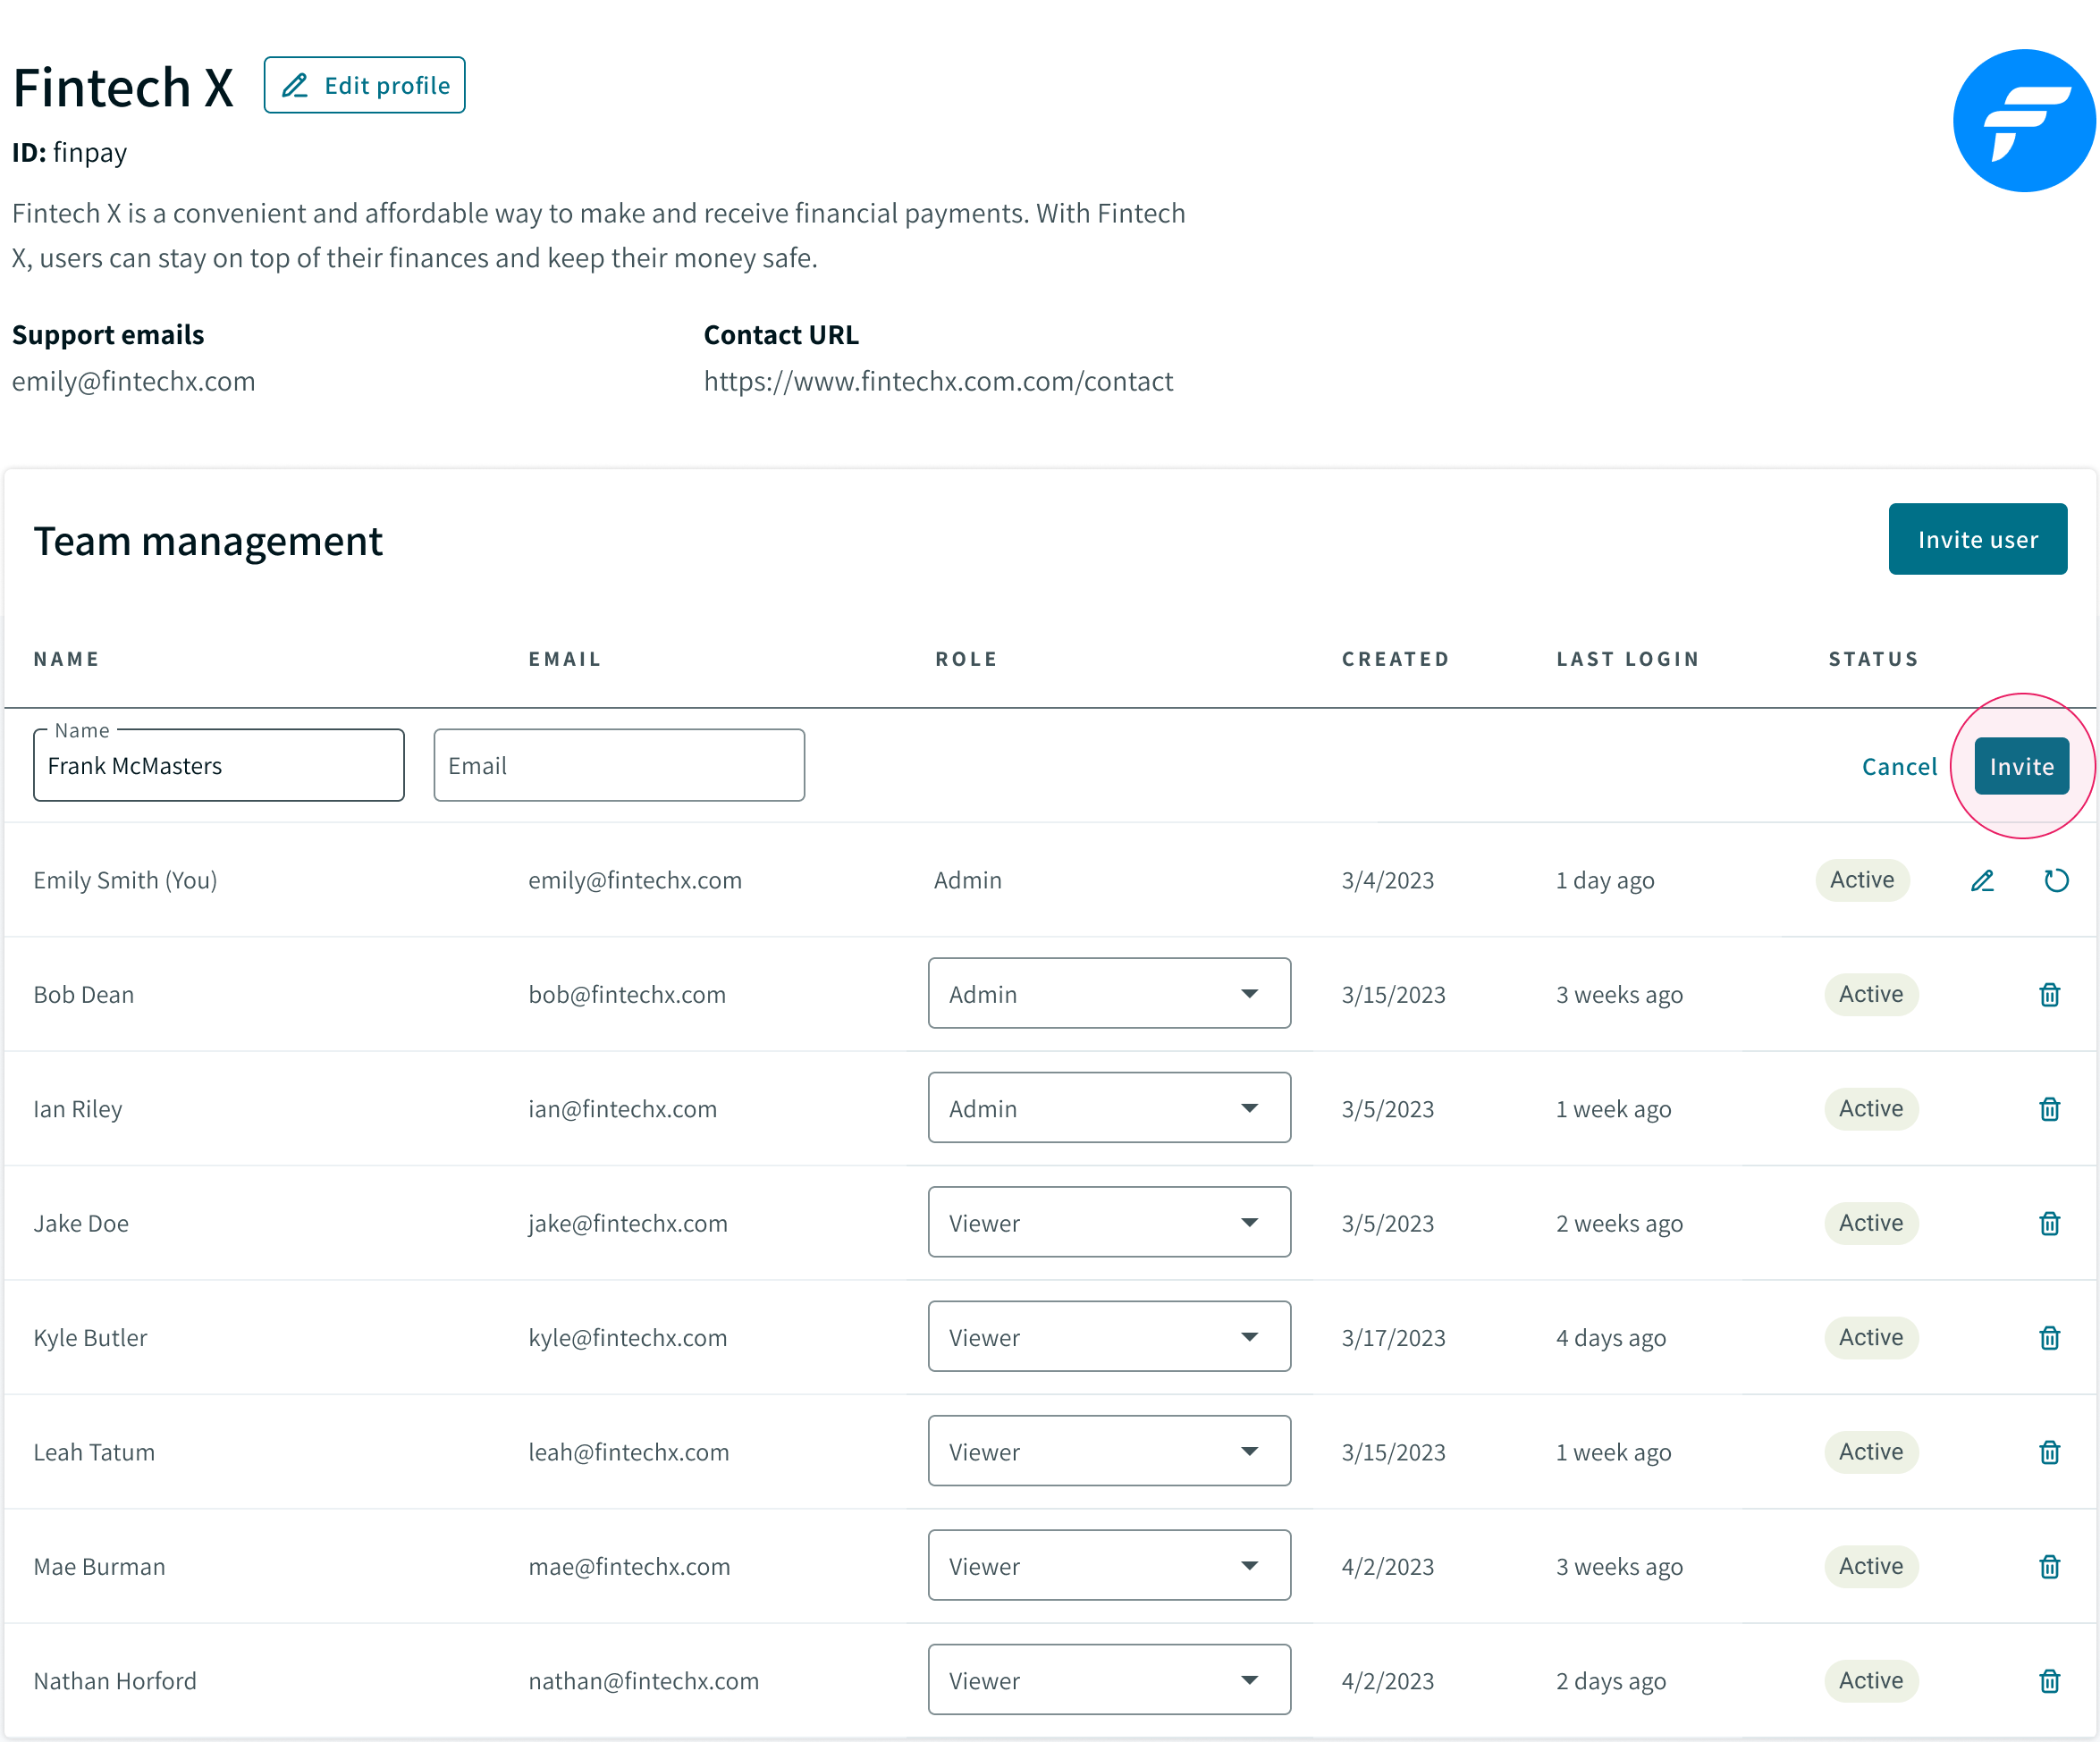
The name field is free text
You can enter a first name and last name, a first name only, or whatever other naming convention is appropriate for you or your organization.
When you click invite, the user will receive an invitation email with further instructions to set up their account.
The email invite link expires in 10 days!
If the new user hasn’t completed the initial login by then, you’ll need to delete/recreate the user to generate a new invite.
After setting your password, you’ll be taken to the multi-factor authentication (MFA) setup screen. Setting up MFA is mandatory for Hub accounts.
Deleting users
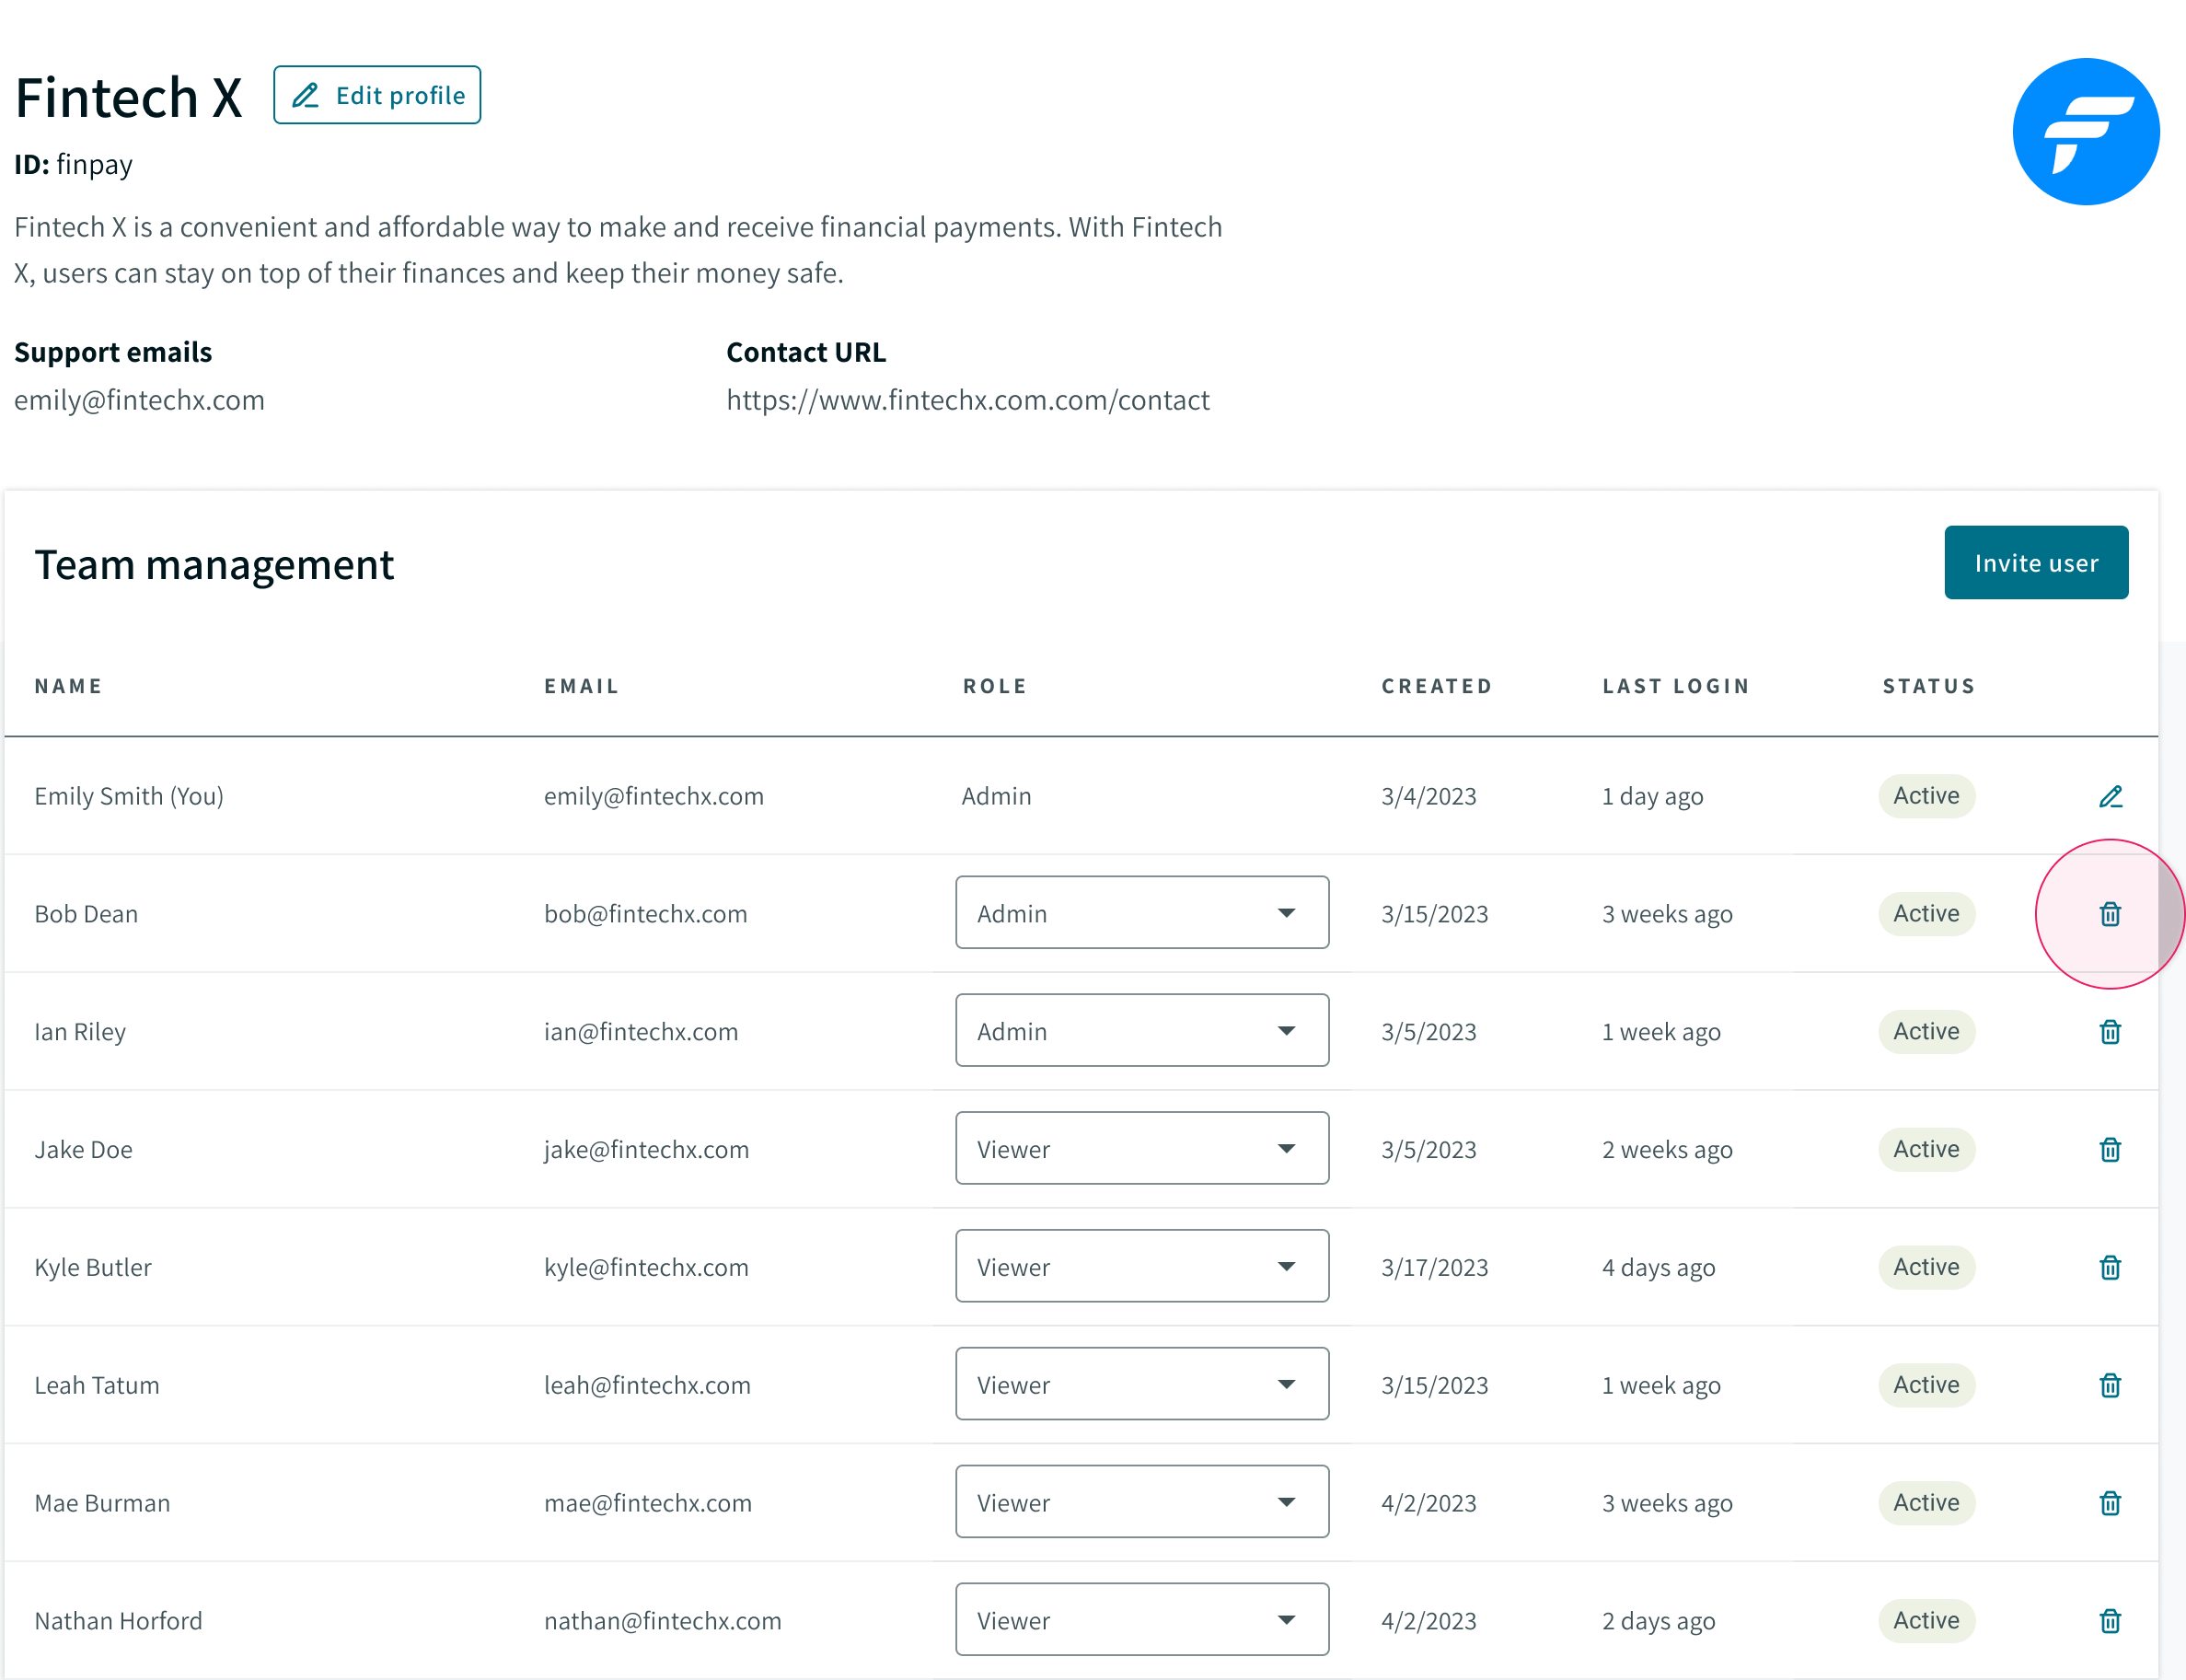
To remove a user, click the trash can icon next to the user you want to delete.
Resetting passwords
Note
You can only reset your own password.
- Click the pencil icon on the right:
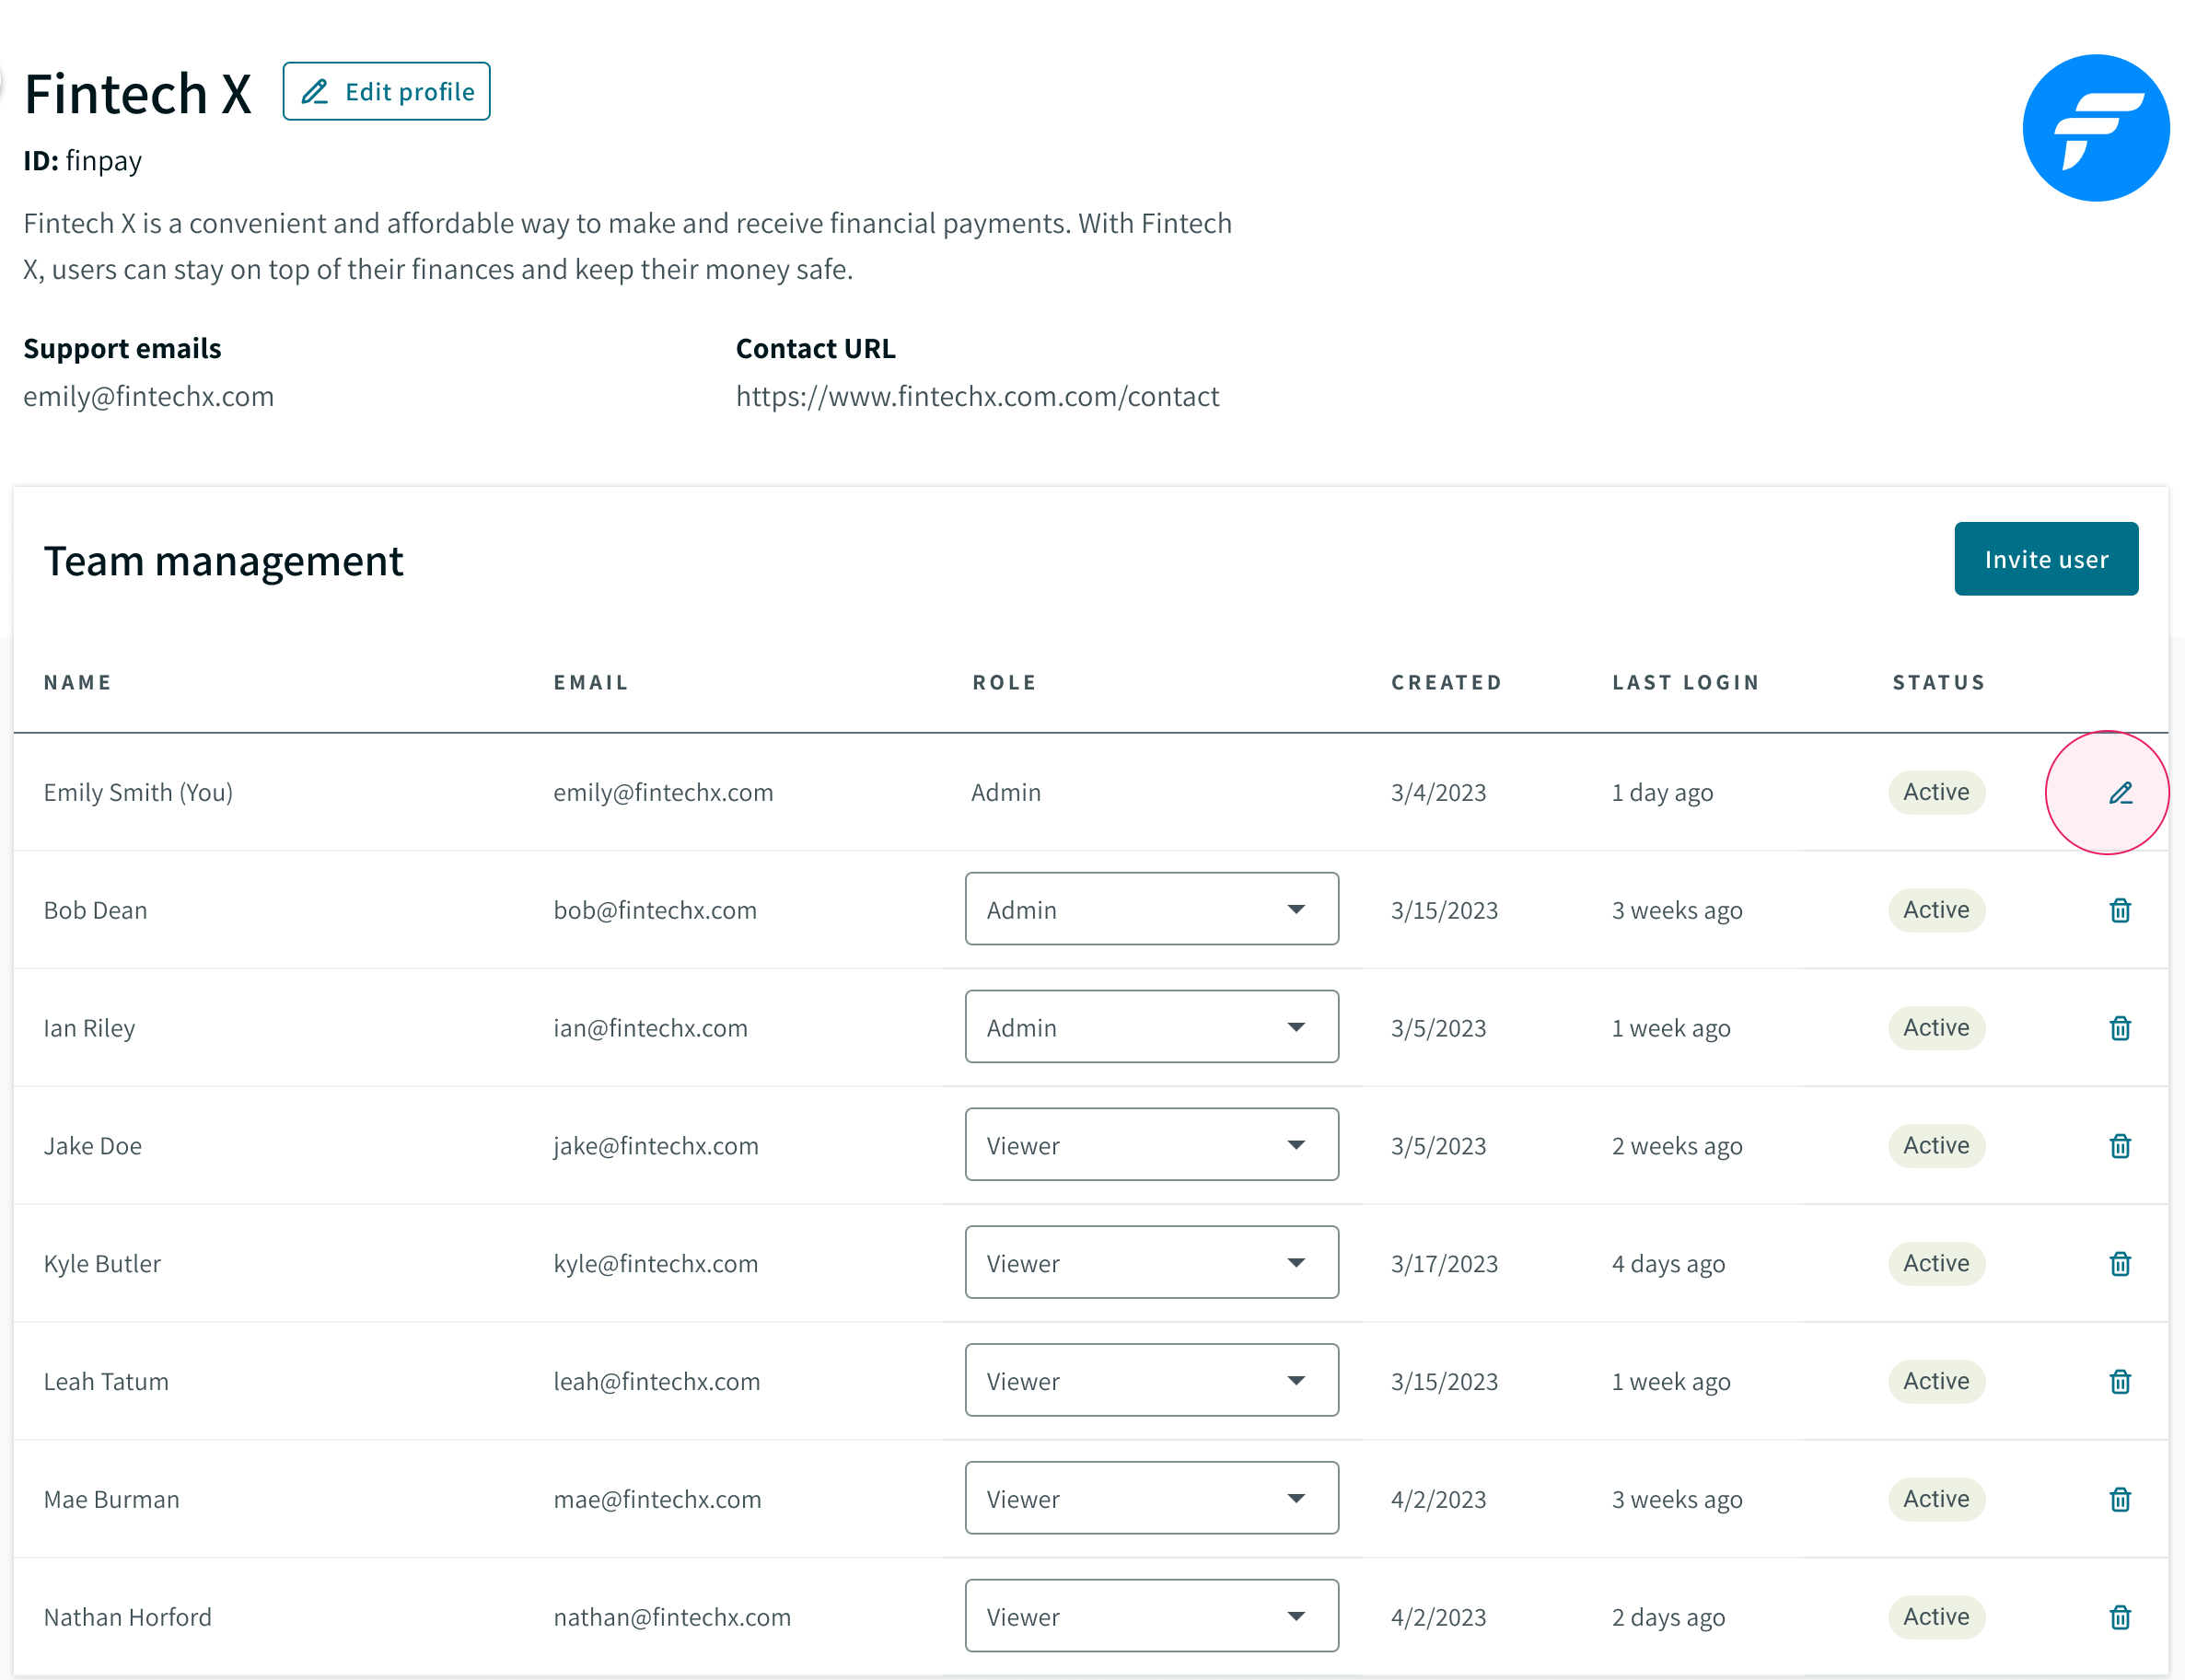
- Enter your new password twice in the fields indicated and click "Update."
Edit profile display name
You can update your display name by following the same process as a password reset. Click on the pencil icon next to your name (as shown above), edit the name field, and click "Update."
Configuring MFA
After setting your password, you’ll be presented with the following screen to set up MFA. You can either use a software authenticator app (i.e. Google Authenticator) or a hardware security key.
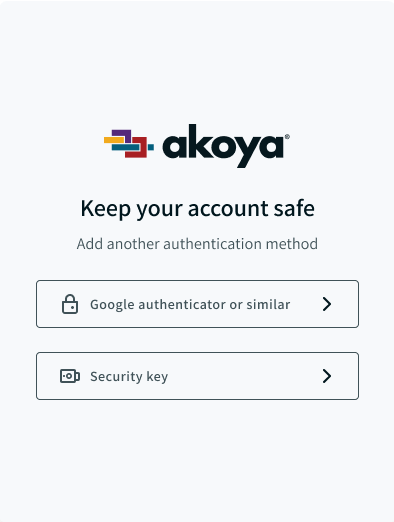
Method 1 - Google Authenticator or similar
The following authentication apps are supported:
- Google Authenticator
- Duo
- Authy
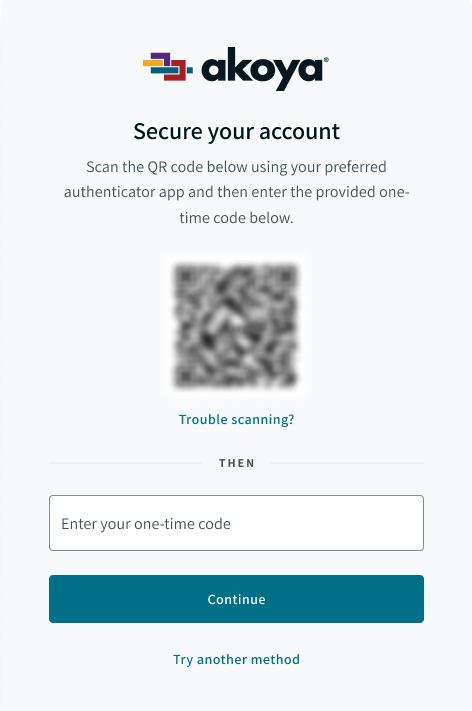
Scan the QR code and enter the six-digit code to finish the setup. The QR code in the example is blurred for security reasons.
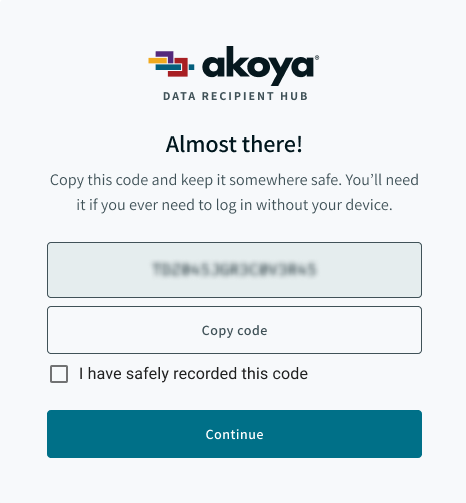
A recovery code will display on the next screen. This code will allow you to log into your account without your device. Record this code in a safe place. Check the box indicating that you’ve saved your code and click “Continue.”
Method 2 - Security key
Note
We recommend using Chrome or Safari to register your security key with the Hub.
Exact procedure may vary!
The exact steps to register your device may vary depending on the specific device you’re using. The following section should be used as a guide only.
If you select the security key option, you’ll be taken to the following screen. Click “Use security key” and insert your device when prompted. You may also be asked to enter a pin to unlock your device.
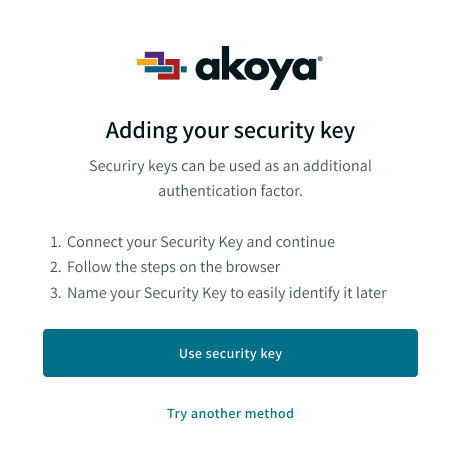
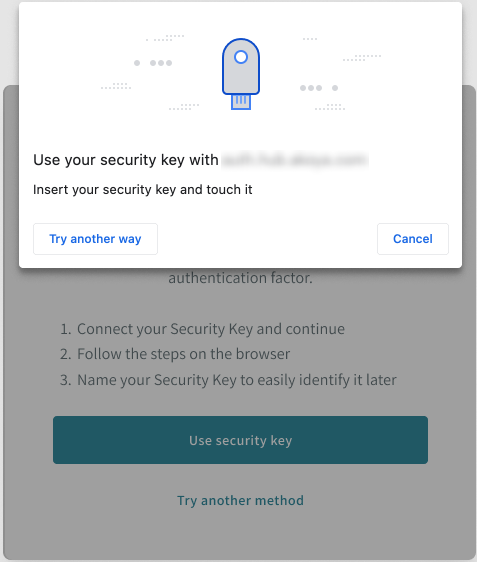
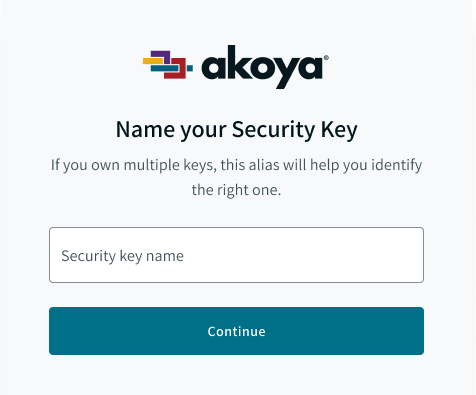
Name your device and save your recovery code somewhere safe. You can use this code to log in if you ever lose your security key or need to log in without it. Click “Continue” when finished.

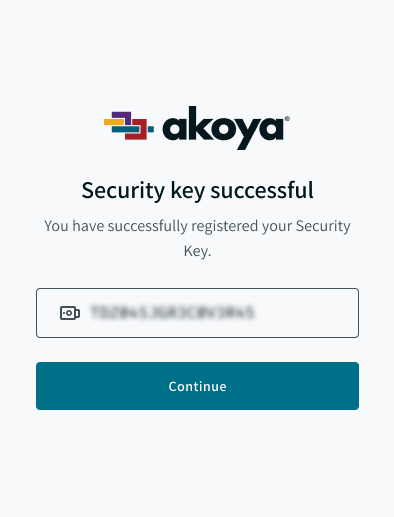
If you reach this screen, you’ve successfully configured your security key. When you click “Continue,” you’ll be taken to the Hub overview page.
Biometric login
We won't cover specific device instructions here
Due to the wide variety of biometric devices on the market, we will only cover registration from the Akoya side here. Please refer to your device’s instruction manual for further setup instructions or troubleshooting.
After you configure MFA, you’ll have the option of configuring biometric login (fingerprint or face recognition) if your device supports it.
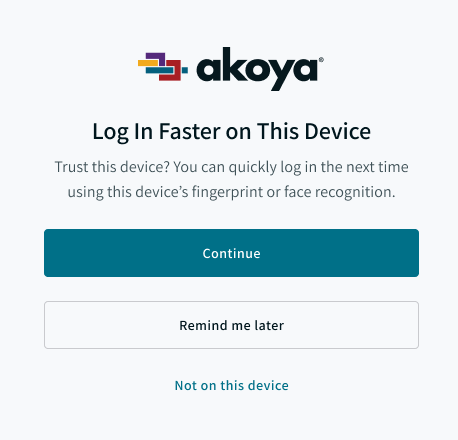
Click “Continue” if you want to set up biometric login and follow the prompts. Otherwise, select “Remind me later” or “not on this device” as appropriate.
Troubleshooting MFA
You lost access to your MFA app or security key
If you lose access to your authenticator device/app, you’ll need to use your recovery code to log in. At the “Verify your identity” screen, click the “Try another method” link and select “Recovery code.”
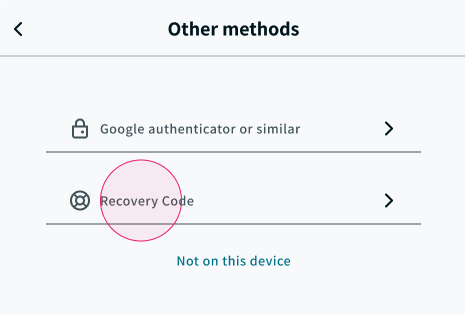
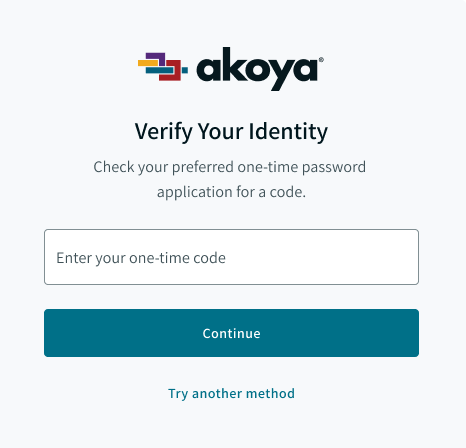
Enter your recovery code and click “Continue.” You’ll be given a NEW recovery code to use moving forward. Be sure to record this code in a safe place and click “Continue.” You’ll be taken to the Hub Overview page.
If you don’t have the recovery code, please have a team member delete your account and re-invite you (see Deleting users). You will receive a new invite via email. Follow the instructions above to accept the invitation and configure MFA.
If your account is the only one in the Hub, please contact support.
Delete old MFA entries for the Hub in your authenticator app/security key
When your Hub account is recreated, the old “Recipient Hub” entry will no longer work. Delete it before setting up your account again.
Edit company details
The "Edit company details" page is available for both types of Hub accounts and allows you to modify the following attributes:
- company display name
- company description
- primary logo URL
- We recommend using your full logo. We use this image for your end-user consent page.
- Accepted width & height: 240px - 1024px (square or rectangular)
- Accepted file types: transparent PNG or JPG
- icon/avatar URL
- We recommend using a sub-mark logo. We use this image as an avatar for your company in the Hub.
- Accepted size: 20px - 200px (square)
- Accepted file types: transparent PNG or JPG
- contact URL
- This is your company's "Contact us" page.
- support email(s)
- Separate multiple addresses with commas. Technical support notifications will go to these email addresses.
- Click the "Edit profile" button next to your company's name. An update screen will appear.
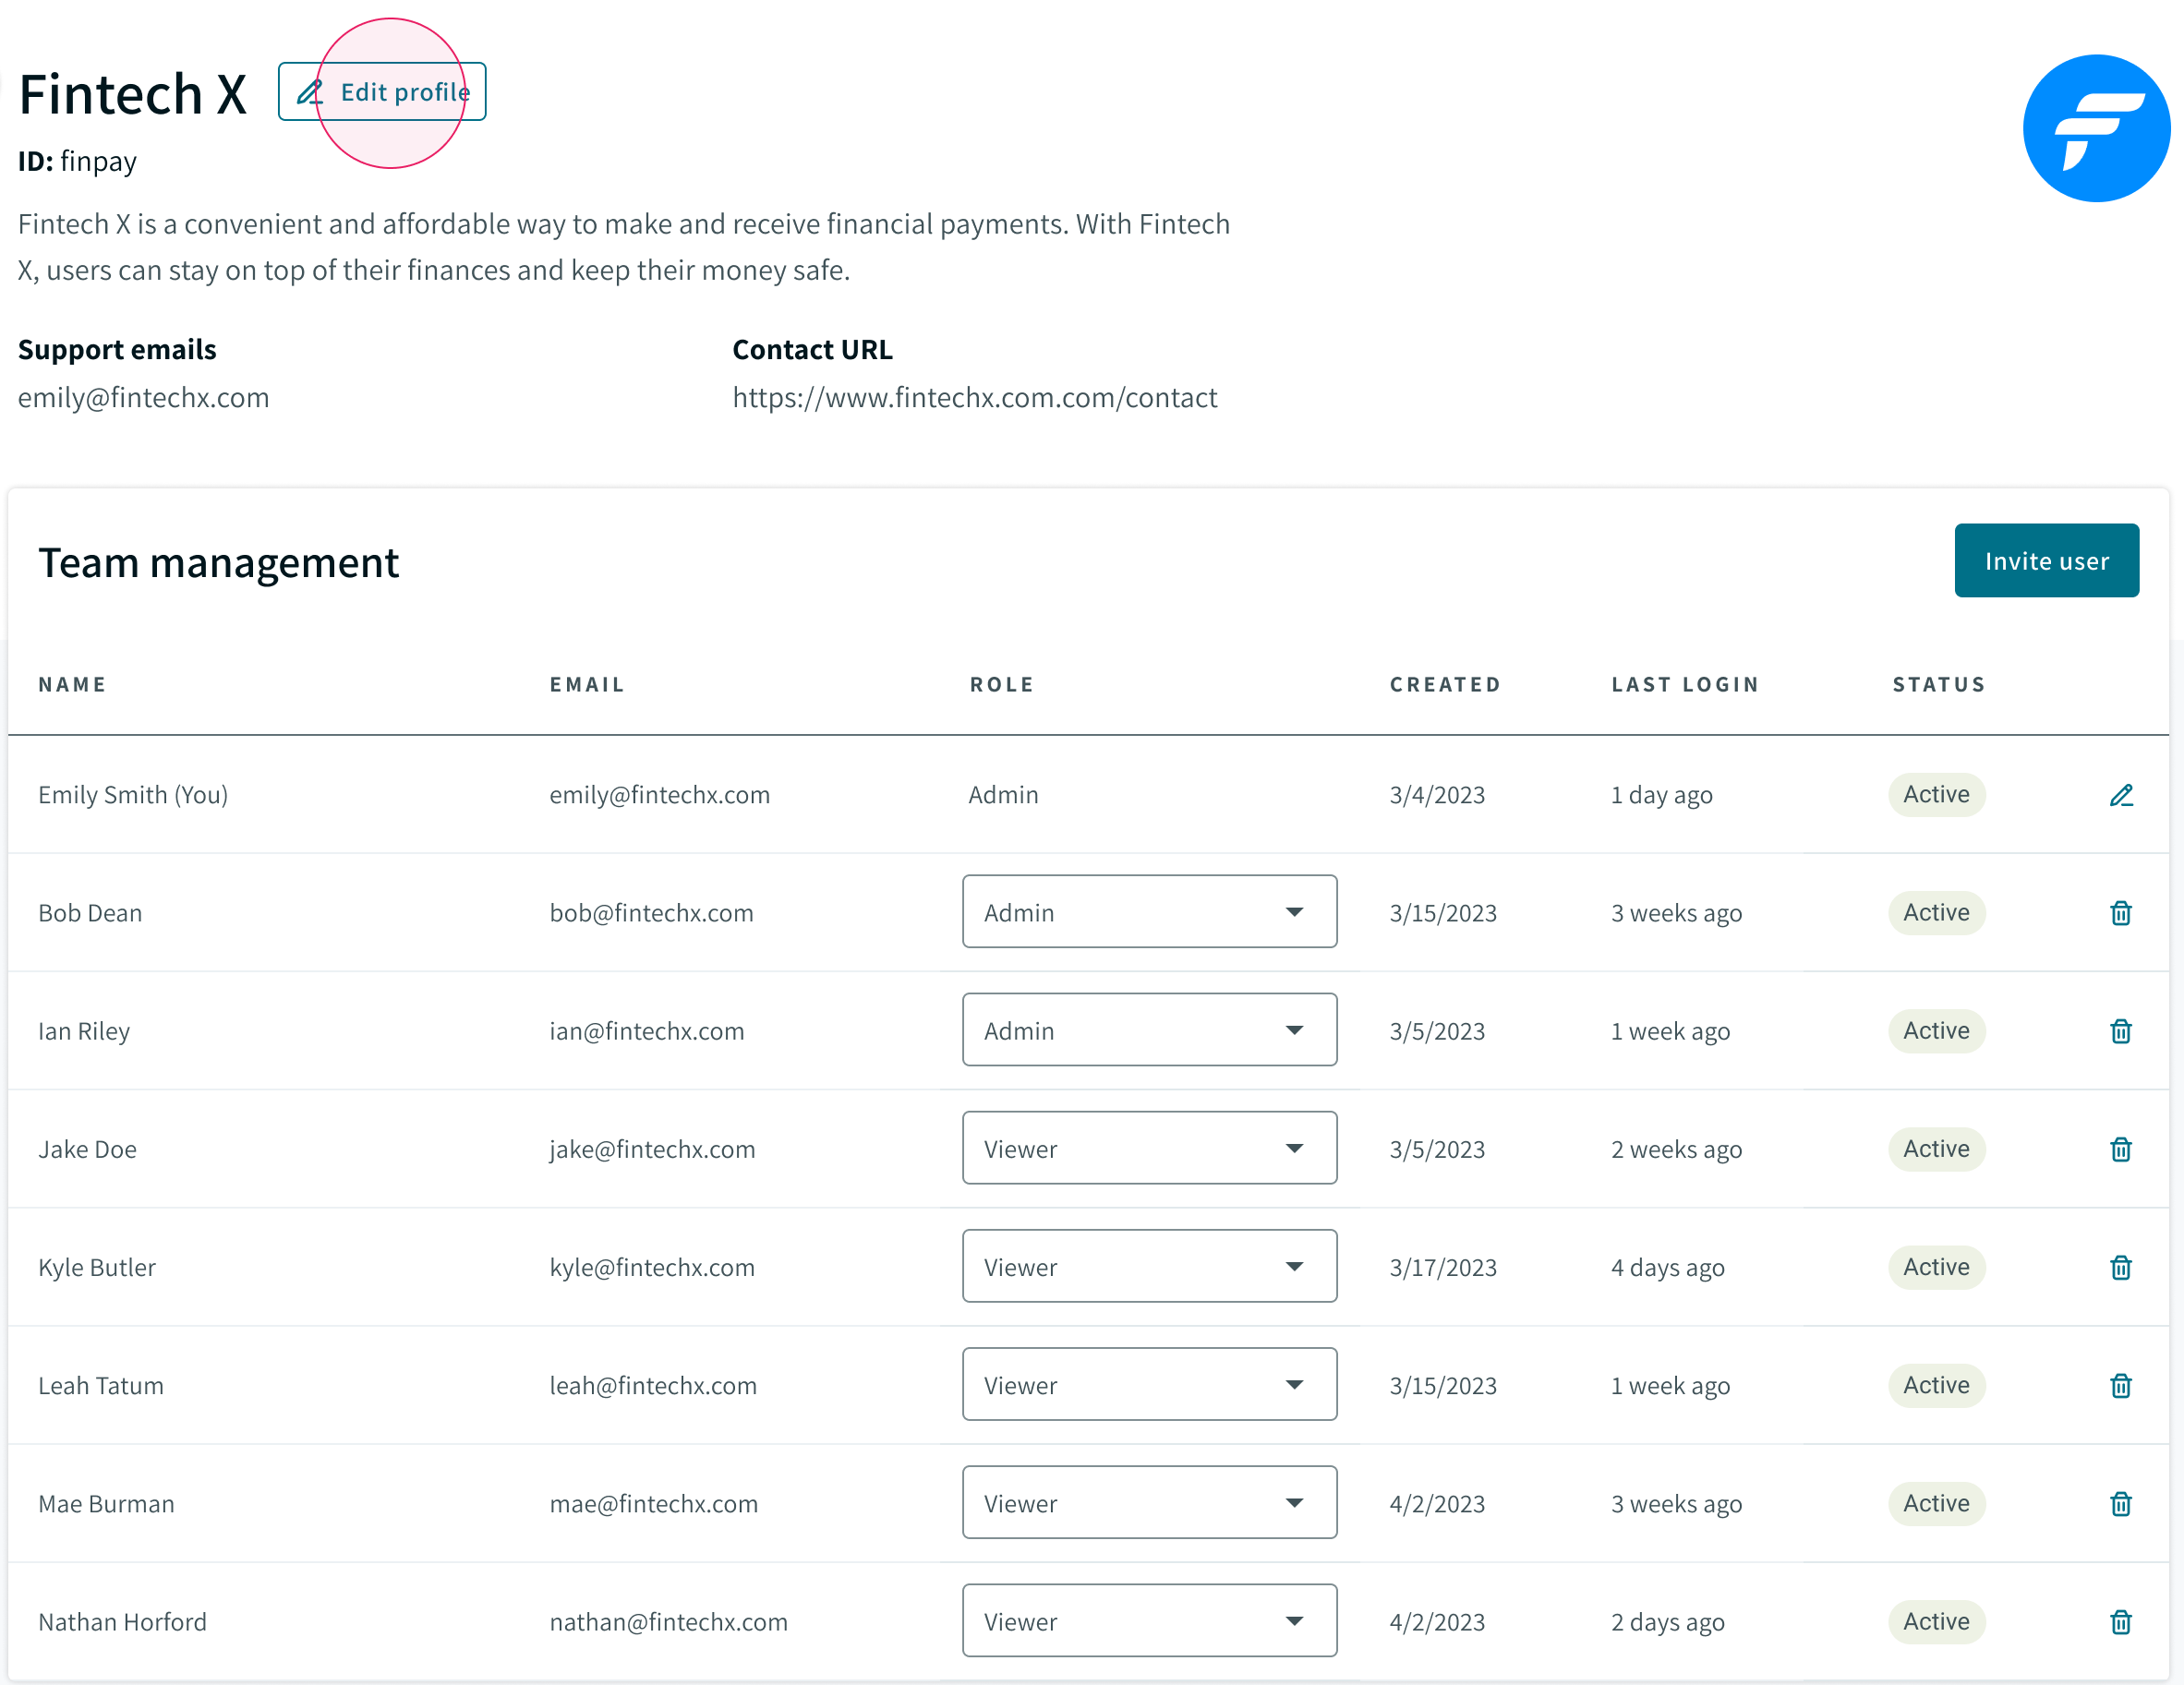
- When you're finished with your updates, click the "Update" button at the bottom.
Updated almost 2 years ago